Introduction
Have you ever come across a digital experience project that had to be migrated from a source platform to Drupal or maybe a lower version of Drupal to a higher version of Drupal? It isn’t a rare thing. Right? At Axelerant, we have many projects that fall into this category. Hence, the Quality Assurance (QA) team came up with a strategy to test applications that were being migrated to the Drupal platform. We started creating the plan and it kept evolving with several years of experience.
Here we begin with the Drupal migration testing strategy, but let’s quickly understand the need to migrate:
- Version update
- To provide better security of the system
- To provide better support for the system
- To update for the bug fixes.
- Better user experience
- Less maintenance cost
Pre-checklist
Like any other project, the QA team should proactively be ready for the event when triggered.
In this case, before the actual migration happens, we identify the following items as part of our pre-checklist so that we optimize the latter part:
- The scope of the data should be set clearly. It should be defined in advance in terms of migration data that has to be included/excluded from legacy.
- Study the application’s data schema on the migrated platform – field names, types, minimum and maximum values, length, mandatory fields, field-level validations, etc.
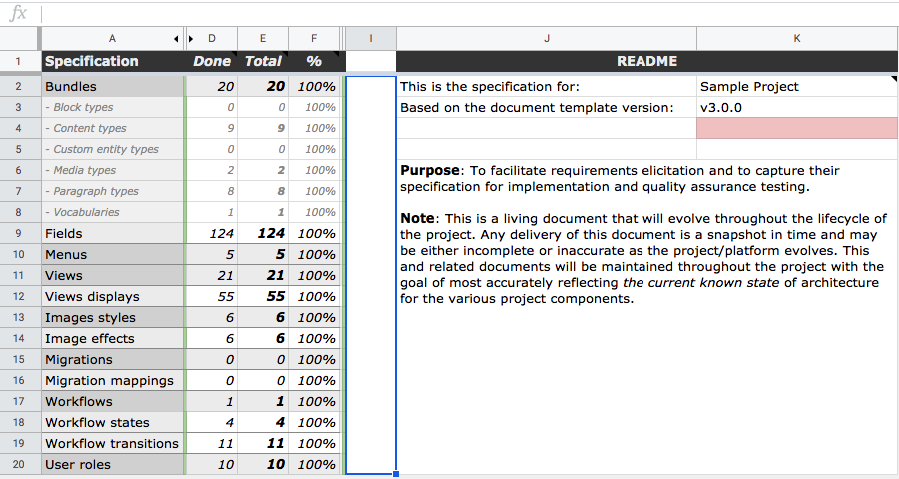
- Identify higher level mapping ( Field mapping)
- Identify lower level mapping (Validations)
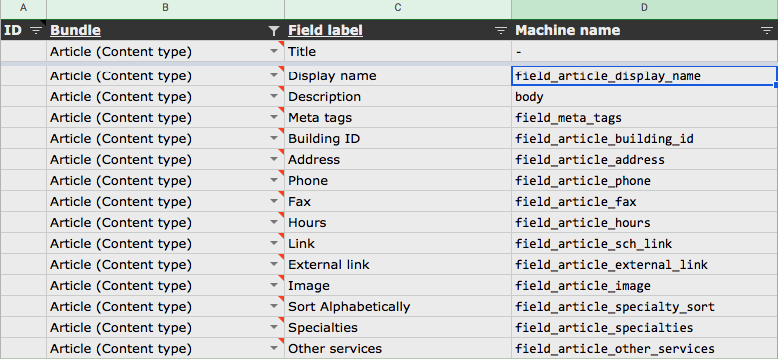
- Stay ready with the fixtures files from the legacy application.
- Fixtures should be in the form of XML, JSON, or in the form of CSV.
1. Identify the content figures of published, unpublished content states.
2. Identify the published content type (as per the product type: can be an article, Report, Basic Page, Terms and Condition page)
3. Identify the detail of Image type content (if any image is used)
a. Correct image link
b. Height and width (with pixel details)
c. Allowed format


- Prepare the SQL query and execute it on the legacy application.
- Prepare a similar SQL query as per the destination database structure and use SQL Version. You can create a query to verify:
a. Published and unpublished content
b. Content figures with different statuses
c. Content having mandatory field value-filled etc.
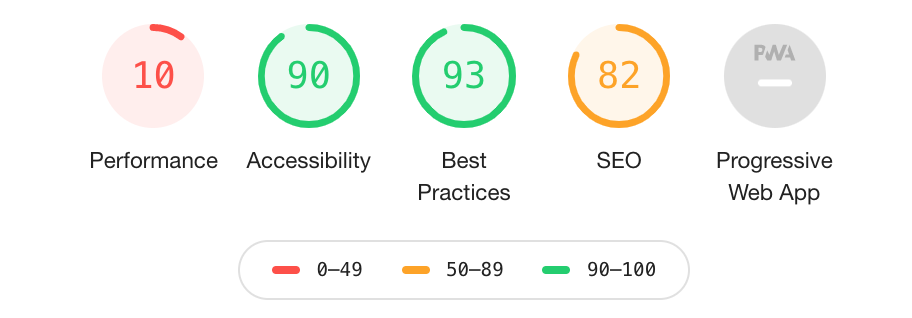
- Execute Performance, Accessibility Test suites on the legacy application using ‘Audit Tool’, and generate the report for the same.
- Identify the issues faced by the user in the source system so that we can improve the destination site accordingly. Issues like Slow system, non-responsive UI, Server down problems when trying to upload large files or memory issues, etc.
- Create an SEO report of the legacy application before migration using Chrome Developer Tool ‘Audit’.
Post-checklist
Verify the mapping of fields:
- Open the source content (XML, JSON or CSV) in the new tab and verify the fields which are migrated to the drupal site successfully.
- Verify that all the fields from the source file are migrated properly on the site.
- Verify that the migrated nodes are in the correct moderation state (draft, InReview, published).
- Verify the title, body, description, image, paragraphs, taxonomies are migrated properly on the destination content.
- Verify the below checklist for each content-type:
- Images are uploaded to Image/Media browser
- Internal links are appropriately updated.
- Verify that the page titles have been updated with the corresponding display-name field of the XML feed.
- The first h tag should be used as the 'Title' for the content type.
- All the internal links present in the content should redirect to the respective links in the Drupal (destination site).
- Verify the HTML components are migrated properly:
- Verify the buttons and links should have valid URLs. These must be internal or external URLs.
- Verify the body field has updated HTML. Copy the HTML and paste in a WYSIWYG editor. Check the URLs in the HTML are valid.
- Verify that all migrations will upload image/document assets to Drupal filesystems for all fields/content types in all environments.
- Verify that the document .doc, Docx, .xlsx, .xls, .ppt, .pptx files are uploaded to the local Drupal file system.
- Verify that the updated page after migration follows the default layout and styles.
Verification of migrated figures:
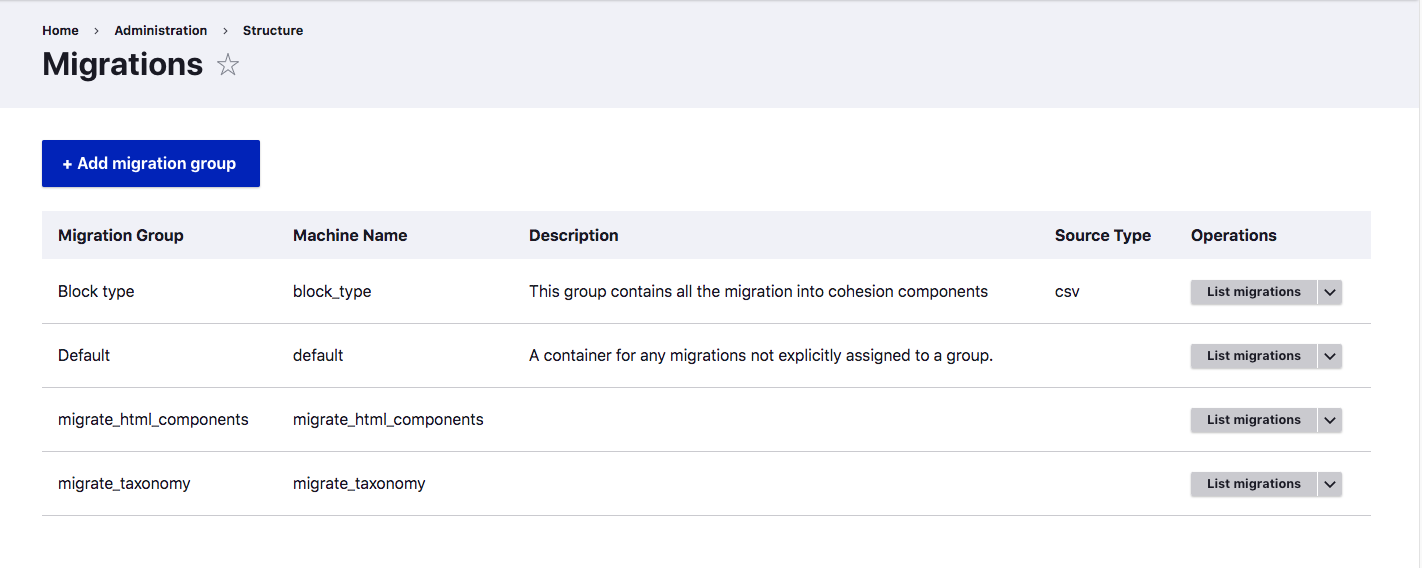
- Verify the migration status on (/admin/structure/migrate/manage/default/migrations).
- Verify the total, imported, and unprocessed migrated nodes on the site.

- Verify the error messages appear after migration on the site and check the severity level.
.png)
- Severity level:
- Severity level 1: Migration error
- Severity level 2: Migration warning
- Severity level 3: Migration notice
Execution of Functional Test Suite:
- Verify that the moderation state of the migrated nodes can be updated, e.g., Draft to Published without any errors.
- Verify that the user can update any migrated node content on the site and the updated node is reflected correctly after publishing it.
- Run a smoke test suite on the migrated site to test various functionalities.
- Verify that clicking any internal links are redirecting to the expected pages with the URL being that of the current migrated site.
- Verify that external links (social share icons) are redirecting on the correct website pages.
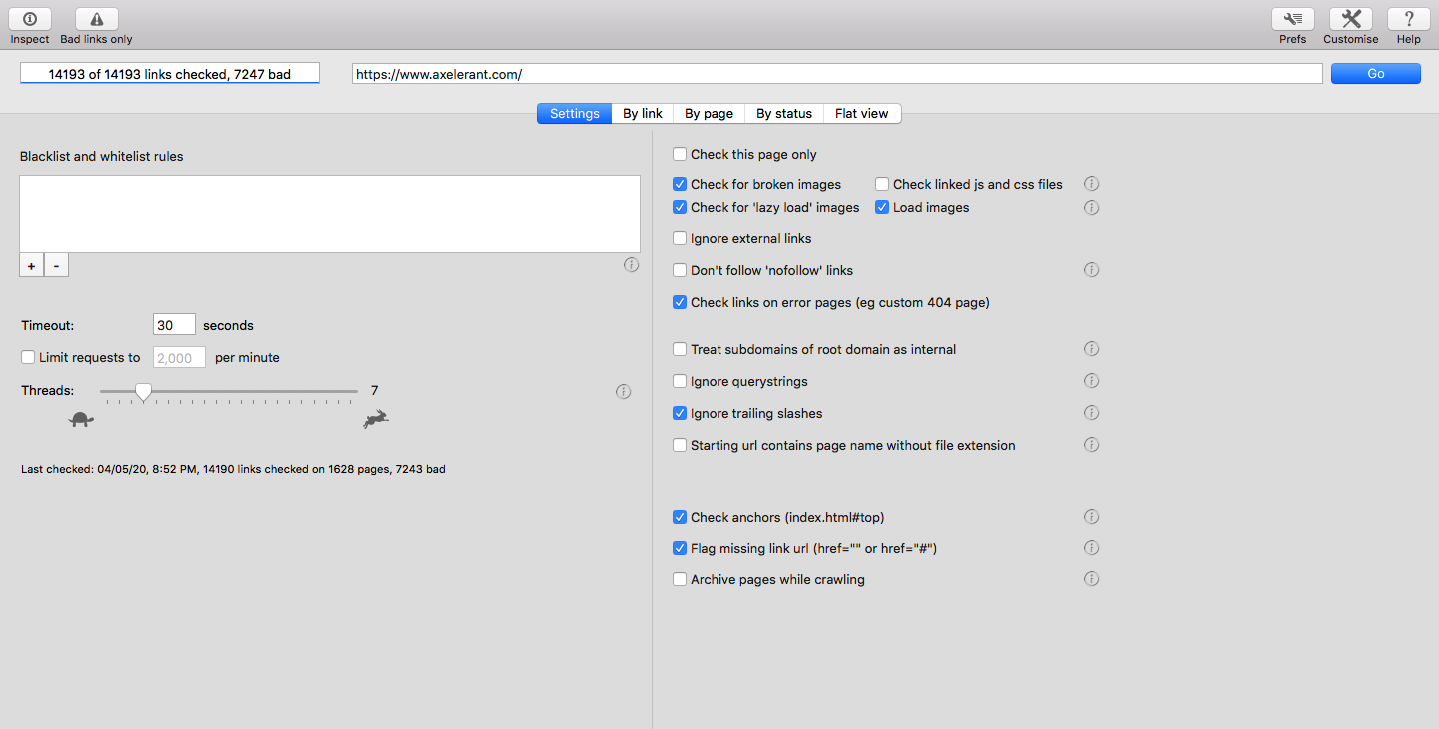
In the final step, run the application for any 403s, 404s, broken links, etc. using the below tool:
- Link to access the tool for mac (OS) here.
Conclusion
Testing migrations can be overwhelming, especially when the amount of data is enormous, say in millions. Having a systematic and logical approach to testing this kind of volume certainly reduces the risk of missing out on issues. Hope this strategy helped to test applications!
For more details related to execution of accessibility test suite please refer to QA Engineer’s Perspective To Accessibility Testing.

Nikita Jain, Quality Assurance Staff Engineer
"Nikki" is a shopaholic with wanderlust, who loves Bollywood movies and good food; offline, you'll find her doting on her beautiful baby girl.
 We respect your privacy. Your information is safe.


Leave us a comment