Introduction
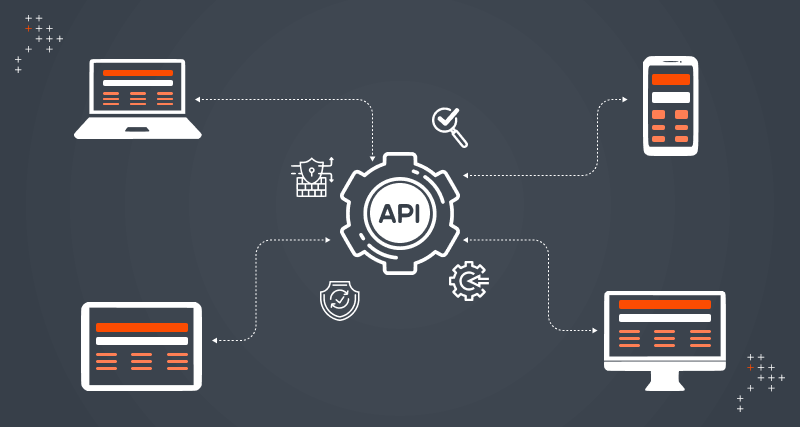
Postman is an interactive and automatic tool for verifying the APIs of your project. Postman is a Google Chrome app for interacting with HTTP APIs. It presents you with a friendly GUI for constructing requests and reading responses. It works on the backend, and makes sure that each API is working as intended.
In Postman, we create a request, and Postman looks at the response to make sure it has the element we want in it. As it is an automation tool, it drastically improves testing time and quality of the project. It helps in the early detection of bugs that might sprout at later stages and cause more damage to the system.
Postman is the way to streamline the process of API testing. All APIs that we create and deploy first rigorously go through Postman so that any major or show stopper bugs are identified on time and fewer bugs leak through to later stages.
Installation Process
- Postman is available as a native app for Mac/Windows/Linux, and as a Chrome app. The Postman Chrome app can only run on the Chrome browser. In order to use the Postman Chrome app, you will first need to install Google Chrome browser.
- If you already have Chrome installed, head over to Postman’s page on the Chrome Web store (https://chrome.google.com/webstore/detail/postman-rest-client-packa/fhbjgbiflinjbdggehcddcbncdddomop?hl=en), and click ‘Add to Chrome’.
- The download should take a few minutes. Once you’ve downloaded the app, you can launch Postman.
How Postman Works
Before initiating API testing, you have to fulfill prerequisites like client_id,client_secret, authorization_code, etc. Once you have your client credentials, you are ready to start using Postman. The steps below will walk you through making some API requests using Postman.
Steps:
- Launch the Postman app.
- Go to the Authorization section:
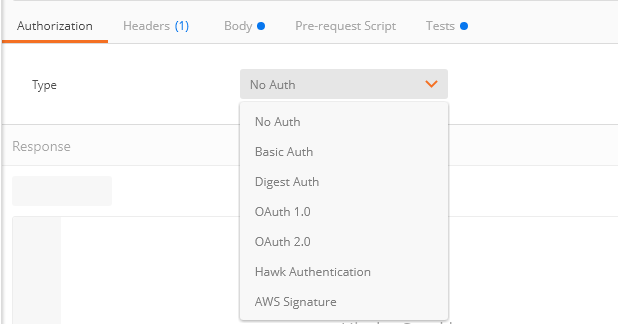
Here you can select Oauth type.
- Go to the Headers section:

The user is supposed to add the relevant content type based on the API endpoint requirements.
- In order to get an access token, the user is supposed to add parameters under the Body section as mentioned in the image below:

Prerequisites: User should have Client_secret and Client_id before sending API call for access token.
|
 |
How to make dynamic API calls
Manage environment
Before execution of API calls, the user is supposed to create an environment and work under it. This way, the user can track all API calls properly and run them in parallel.
How to set up an Environment
Steps:
Launch Postman app > Settings > Manage Environments > Add Environment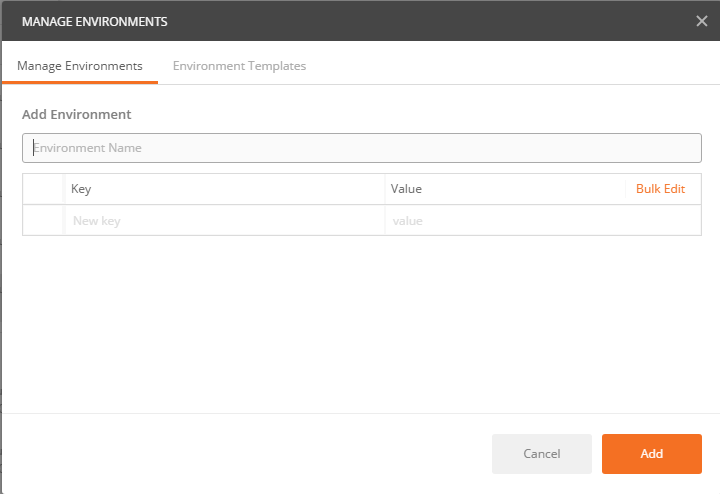
Variables
Variables play a vital role creating dynamic calls. As per my requirement, before making “oauth2/token” request, I should have “Code”, incremental “State” id. So I declare variables based on my requirements like , , .
After that, pass the JSON code under “test” and you are good to use variables in the calls.
Bulk API call
When you have bulk API calls and variables are set accordingly, you are ready to run all APIs in one go.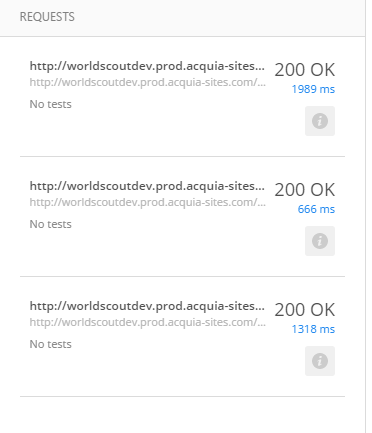
How to use Curl for API testing
curl -s -H "Content-Type: application/json" -X POST ‘ENVIRONMENT NAME/ API ENDPOINT
ACCES_TOKEN -d '
{"title": "This is content created by jaspreet","description": "Demo project description",
"language": "en","from_date": "2017-05-20","to_date": "2017-06-05","categories":
"Health","service_hours": 12,"participants": 12,"pictures":[1423255]}
-H stands for Header
-X stands for method (Post/get)
-D stands for data
Environment name: Use your environment
API endpoint: Use the API endpoint after environment name
Access token: You should have access token in order to run API via Curl
Part 2 covers the technical points which would be helpful to developers/testers in order to make dynamic API calls.

Jaspreet Singh, Senior Project Manager
Nickname: Jazz. Family man, obsessed with watching, playing, reading about cricket—if you play a round of "snooker" with him, prepare to lose.
 We respect your privacy. Your information is safe.

Leave us a comment